Better first layers, fewer failed prints and a few calibration tests worth knowing about.
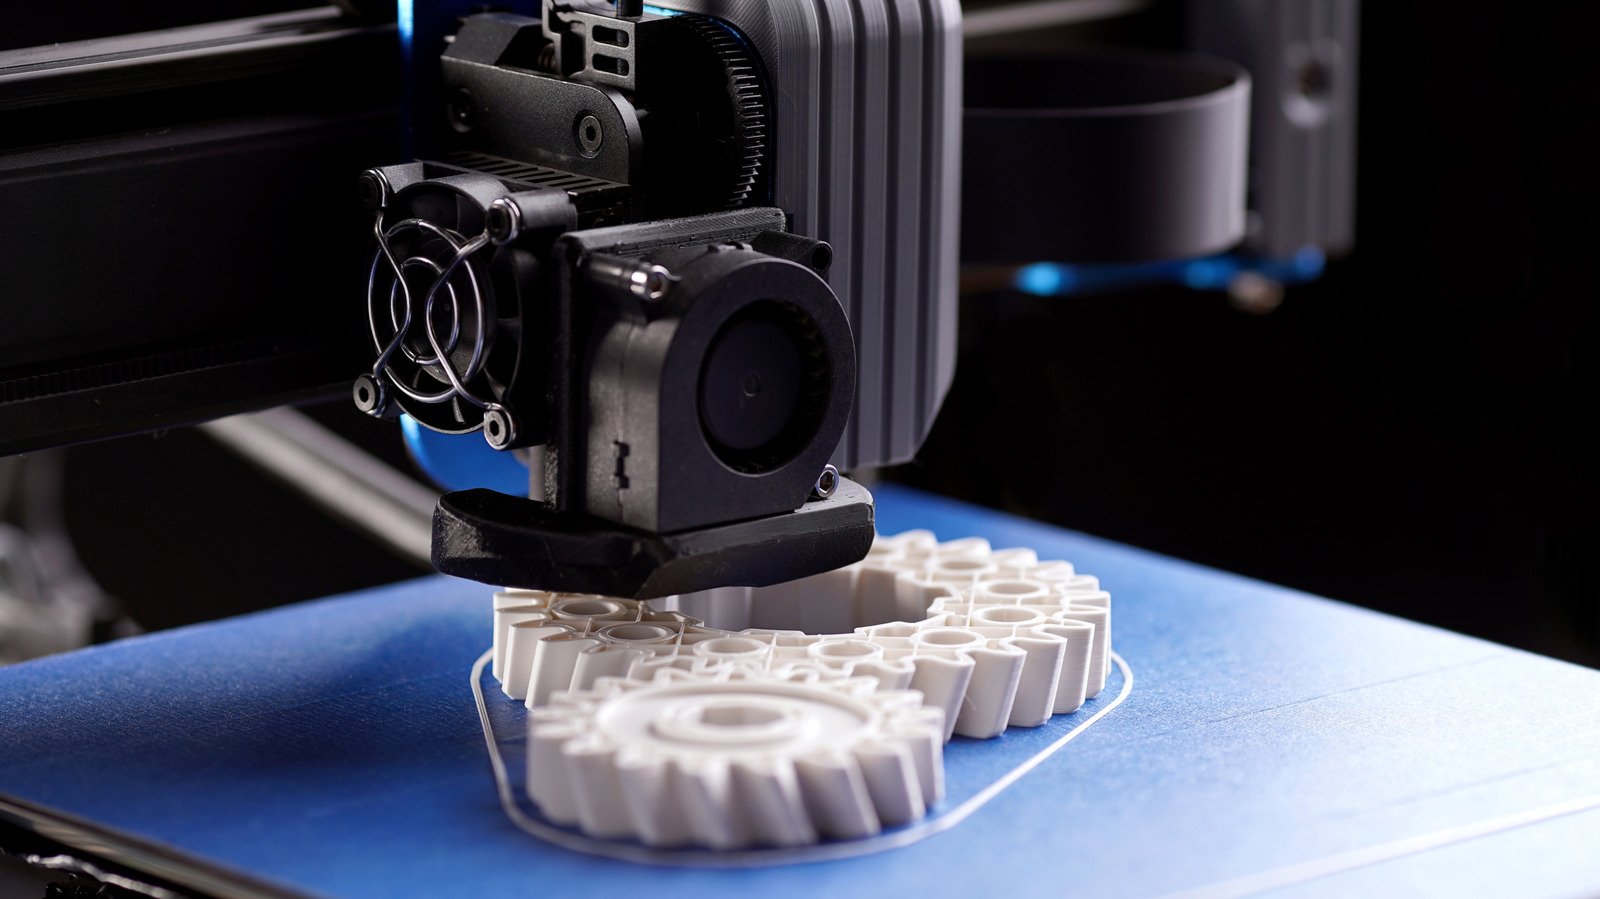
Your 3D printer can spend hours making a part, only for it to detach from the bed halfway through. Worse, the finished piece might look great but refuse to fit where it should. That's a lot of filament down the drain, all because the printer might need calibration.
An uneven bed, incorrect nozzle height and poorly tuned extrusion can cause adhesion issues, rough surfaces and dimensional inaccuracies in an FDM 3D printer. Calibration can address those problems on both older printers that need manual adjustments and newer models that handle some checks automatically. It's also worth checking calibration after moving your printer, adjusting belts, replacing a nozzle or performing mechanical maintenance.
The calibration process starts with a mechanical check, cleaning, bed leveling, Z-offset adjustments (when applicable) and a first-layer test. E-step calibration (rotation-distance calibration in Klipper) with a heated or printing-temperature hotend is a good indicator on supported printers to see if the extruder is extruding the right amount of filament before flow rate tuning. The temperature towers can then be used to fine-tune filament settings. There is no fixed schedule for recalibration, so repeat the appropriate checks as you change hardware or if print quality begins to deteriorate.