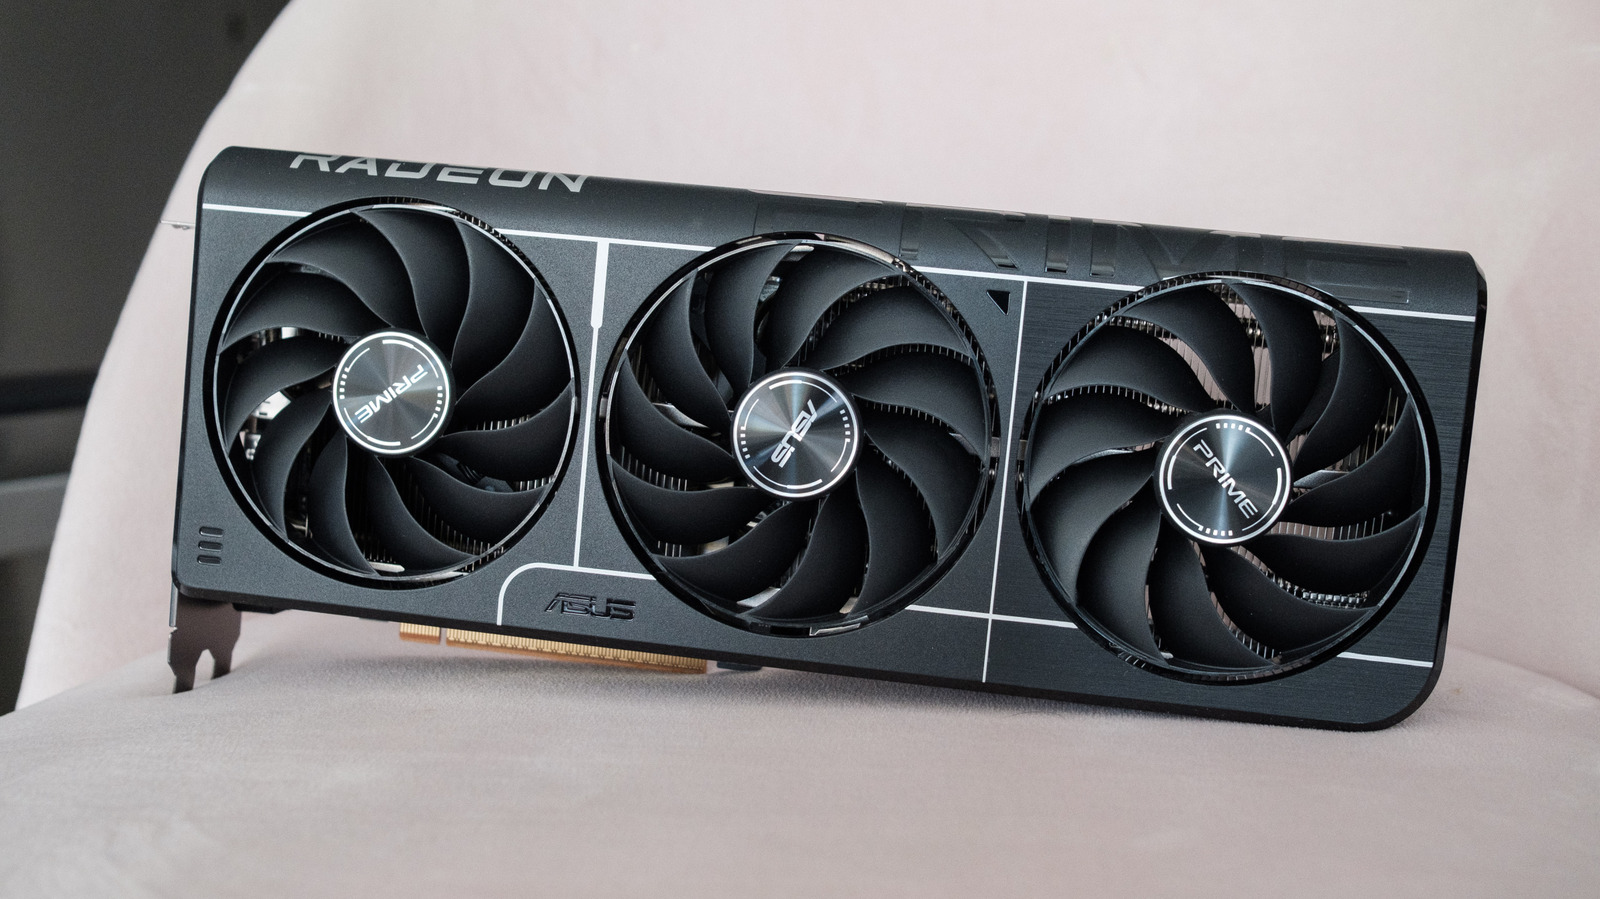
Removing and cleaning a GPU can be intimidating, but it's actually pretty simple.
Like any PC component, your graphics processing unit collects dust over time. In turn, that can affect its thermal performance, causing your card to run at lower clock speeds and, over time, shorten its lifespan. With GPU prices what they are in 2026, you don't want to replace your current one if you can avoid it. So it's a good idea to clean your GPU every three to six months or so.
Opening your case and removing the GPU to clean it can be intimidating, but if you follow this guide, you'll learn how to do it safely.
When I go to clean my PC's GPU, I find it's best to remove it from the case. This ensures any dust is cleared entirely from the system.
Safely removing the GPU starts with properly powering down your PC, and then opening the case to access the internal components. Depending on the design of your case, you may not need a screwdriver to crack open your chassis; some configurations only require loosening some thumbscrews. With older cases, you might need a Phillips head screwdriver. If you don't own one already, iFixit sells a handful of great bit kits for DIY repairs.